@ngrx/store - data flow
Published on November 19, 2023
Let’s try to keep things simple and focus on the core of @ngrx/store and the basic data flow in an angular and NGRX application.
We will target this lesson to understand 3 key elements from @ngrx/store:
StoreActionReducer
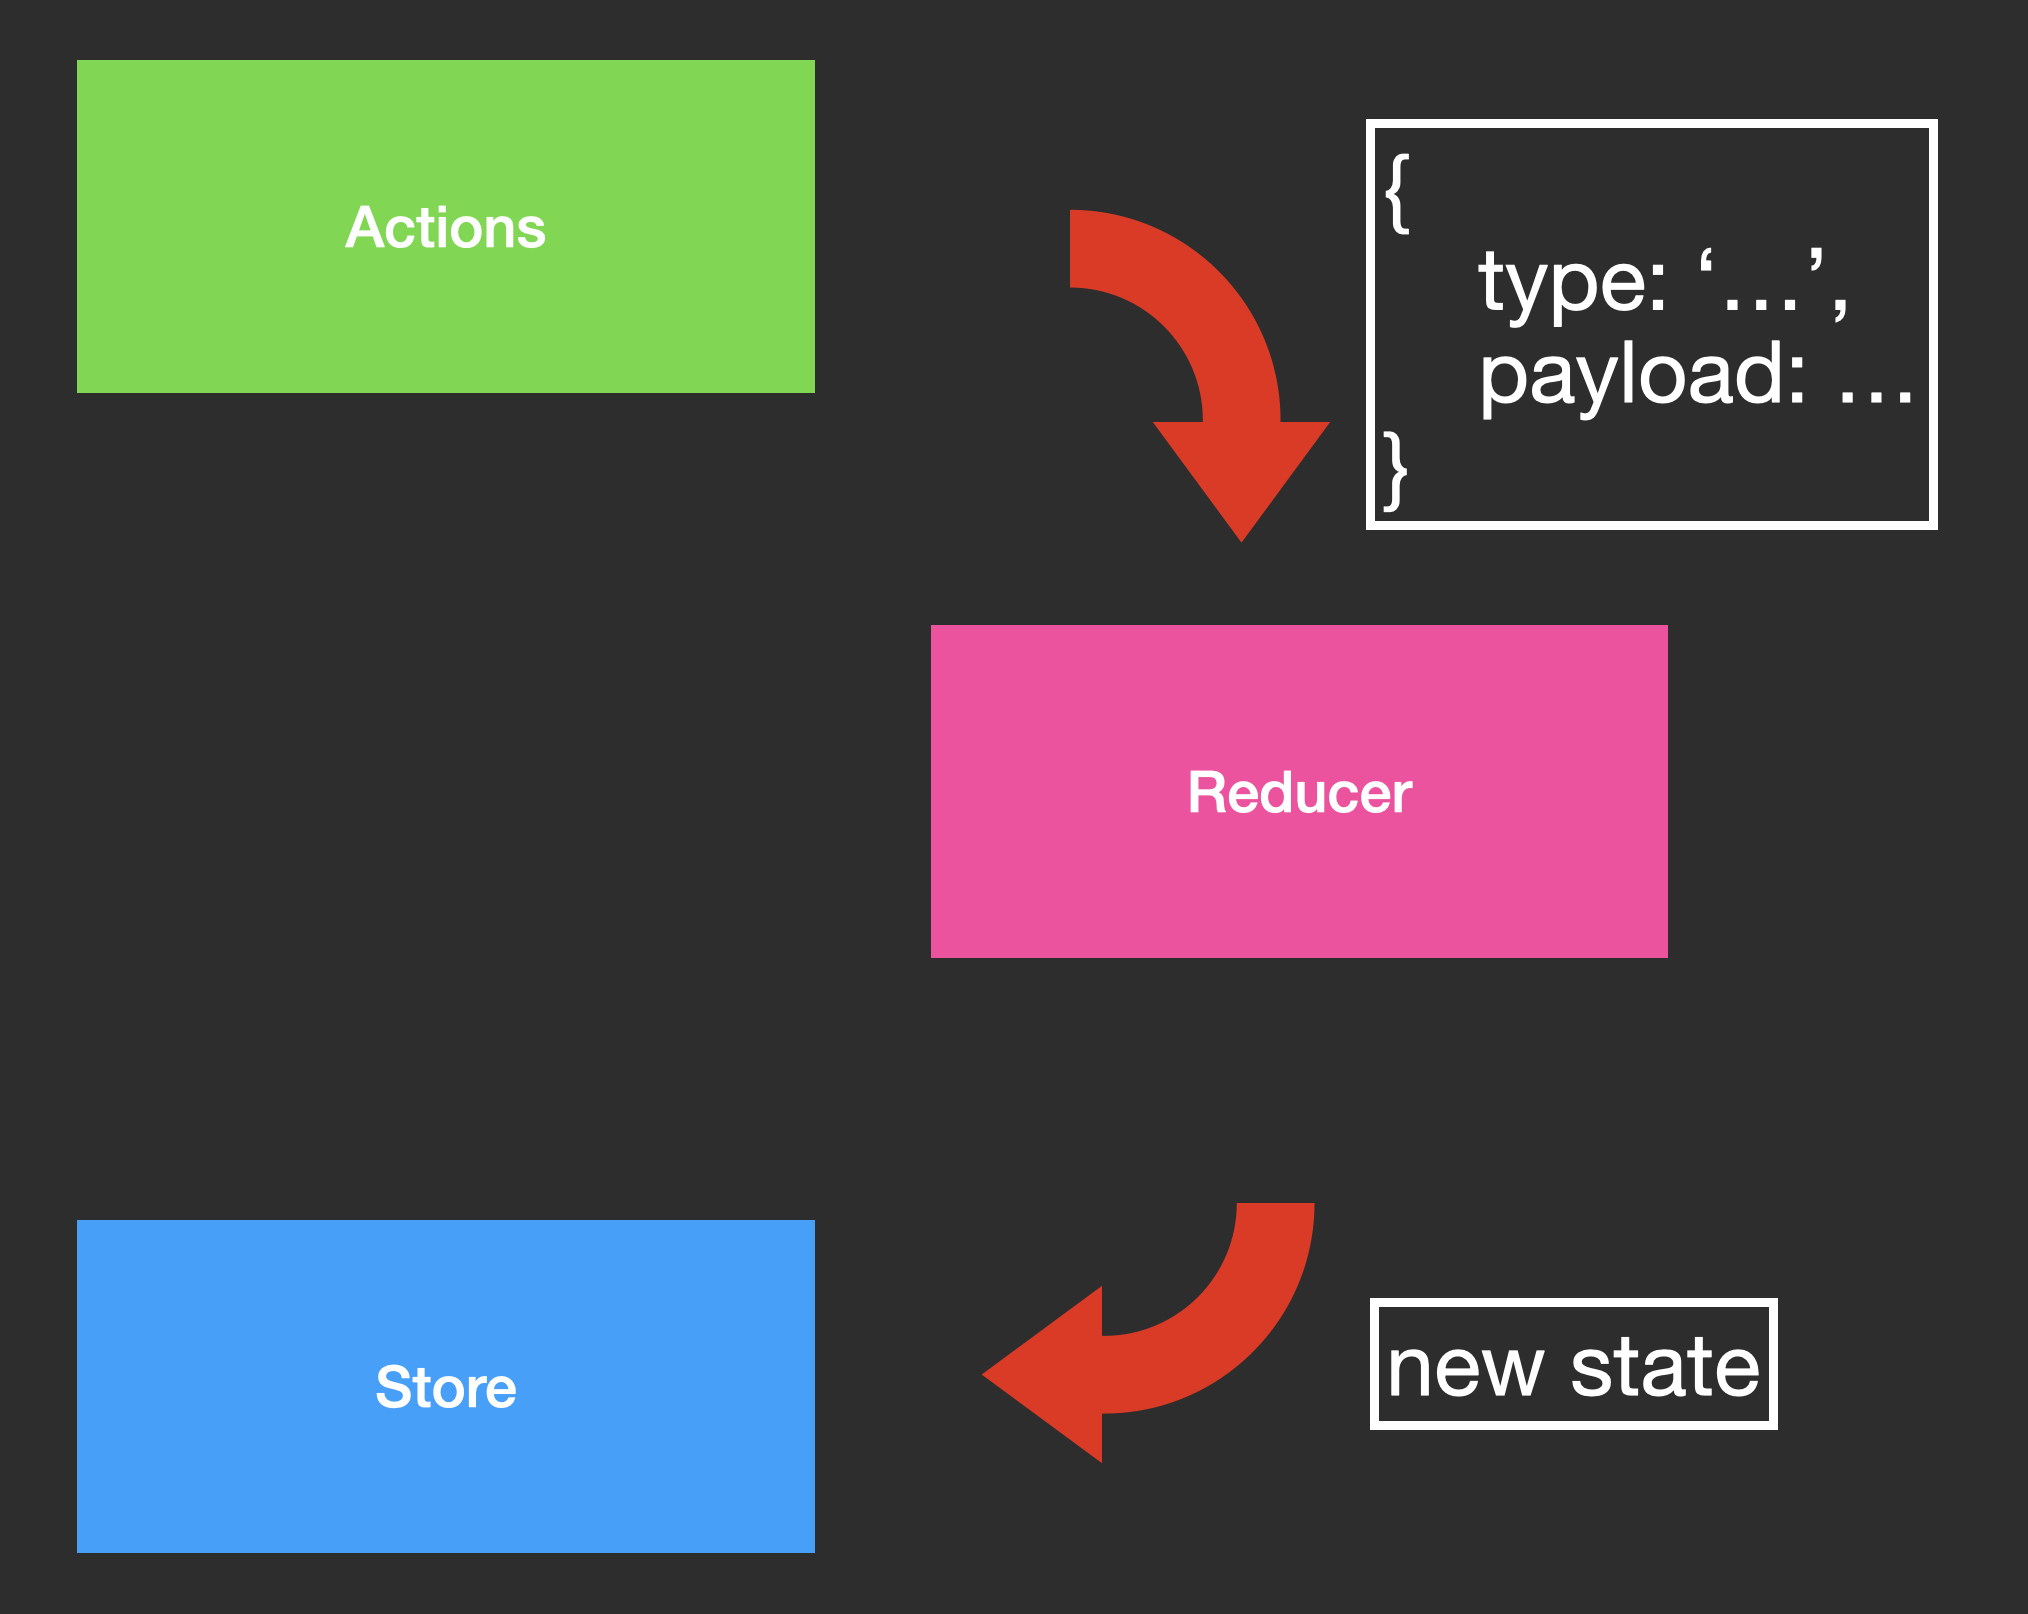
With these elements and our angular components, there is a simple flow of data that is described in the following diagram:

This diagram does not represent the full diagram of NGRX, think of it as representing the engine of the car, to this diagram we will gradually add additional parts until we understand the entire car, but it’s best to start with a simple version and build our way from there.
Store
We will explore the diagram and start with the Store.
The Store is a service that is provided by @ngrx/store.
Which means after you install @ngrx/store you can inject the Store service using Angular’s DI.
npx ng add @ngrx/store@latestimport {Component} from '@angular/core'import {Store} from '@ngrx/store'
@Component({ selector: 'some-component', ...})export class SomeComponent { constructor(private store: Store) {}}In this example a component is asking for the Store service.
There is a single Store service in the entire angular+ngrx application.
The Store is holding the entire state of the application, where the main usage of the Store is:
- Inject the
Storeservice to read the state - Inject the
Storechange the state.
Reading the state
An Angular component that is reading the state is represented in this part of the diagram:

We can read the state by injecting the Store service and calling the select method.
Note that when you store.select data from the state, you are getting an Observable of the data, which means you need to use the async pipe in the template.
Changing the state
After you inject the Store service, you can trigger a change of state process using the store.dispatch method. This part of the flow is a bit tricky, so let’s break it down.

Change will start from something that triggers a state change (In the diagram example we see above it’s a button click).
Popular things that will start a state change process are:
- user actions (like clicking a button)
- server request or response
- timer events
- Effects (which we will discuss about in this lesson)
Keeping things simple we will use a button click to trigger a state change process. Take a look at this example which increments a counter every button click.
we use this._store.dispatch(...); function to send an Action, we will have a full lesson about an action, but for now let’s look at an action as a simple Object which describes what happens with an identifier (in our case the identifier is: type: 'INCREMENT') and optional payload data if the event needs to send more information.

When we want to start a change in the state, we inject the Store service and call store.dispatch(action) sending information about the action that happened.
Reducer
The Reducer will get the current state and the action that happened and will return a new state. Take a look at the following simple reducer:
The reducer decides what is the new state by getting the current state and the action that happened, and returns the new state.

And that is the last piece of the puzzle of NGRX data flow.
Summary
In this lesson we learned about the data flow in NGRX which consists of the following parts:
Storeis holding the currentState- Component can inject the store to read the state.
- Component can trigger
store.dispatch(...)on events to start a state change process. - The
store.dispatch(Action)is getting anActionobject which describes what happened. - The
Reducerwill get the current state and the action and will return a new state. - The
Storewill change the current state to the new state. - The component will get the new state and will re-render the template.